Write IEP goals
For each IEP![]() Individualized Education Program, you write goals for the
student to ensure progress on the plan. You enter information concerning
the student’s current performance level, measurable annual goal, and objectives
to complete the goal.
Individualized Education Program, you write goals for the
student to ensure progress on the plan. You enter information concerning
the student’s current performance level, measurable annual goal, and objectives
to complete the goal.
In some
For each IEP, define goals for the student to ensure progress on the plan. You enter information concerning the student’s current performance level, measurable annual goal, and objectives to complete the goal.
|
Note: Most users define this information while entering an IEP for a student. Anything you view or enter using these instructions also appears in the actual IEP. |
To write an IEP goal:
- Log on to the Special Education view.
- Click the IEP tab.
- Select the IEP you need to define goals for.
- Click the Goals sub-tab. Any goals already defined for the IEP appear.
- Click Add.
The IEP Goal pop-up appears.
Note: If your
- Click the yellow Unlocked icon
 .
. - When the green Locked icon appears
 , you can edit the IEP.
 If the red Locked by another user icon
 appears, someone else has locked the IEP data for editing, and you must wait until they are done before you can make your changes. If you have override privileges, you can override the lock. If you do so, the following warning appears.
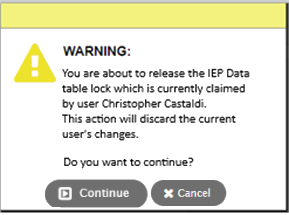
- When your changes are complete, click Save, and then click to release the lock.
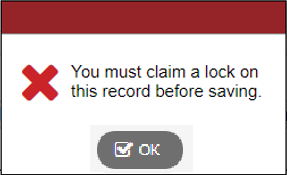
If a lock is overriden by someone else, the following prompt appears when you attempt to save.
Click the yellow Unlocked icon
to reclaim the lock, re-enter your edits and save your changes; then click to release the lock. Note: Click Goal Bank Selection to select a goal you or your
- Click the yellow Unlocked icon
- Type the goal number and specific goal focus.
- Below the appropriate heading, type performance level information and the measurable annual goals.
- To add an objective, click Add. A line to create an objective appears.
|
Note: If
this is a goal you often write for your students, and if your |
- Click Save.