Lock System Table Data Based on Date
You can lock system table data based on a specific date, such as the end of the school year. This prevents users from editing that data.
The system administrator must first enter a date in the Archive lock date field in the district's (root organization's) General preferences. Then, indicate the table whose records you want to lock by entering the name of its date-related field in the Path to date field on the table's details page.
Aspen locks a table if the student record date path is before the Archive lock date. All fields associated with the table are locked (read-only).
|
Note: The user role privilege, Override archive lock date, allows users to add, edit, save or delete locked records. It is enabled by default for the system administrator user role (District [Root Organization] view, Admin > Security > Roles> Details >District tab category).
|
|
Example: The district wants to prevent staff from editing student attendance records once the school year ends.
*First, they enter an Archive lock date district (root organization) preference.
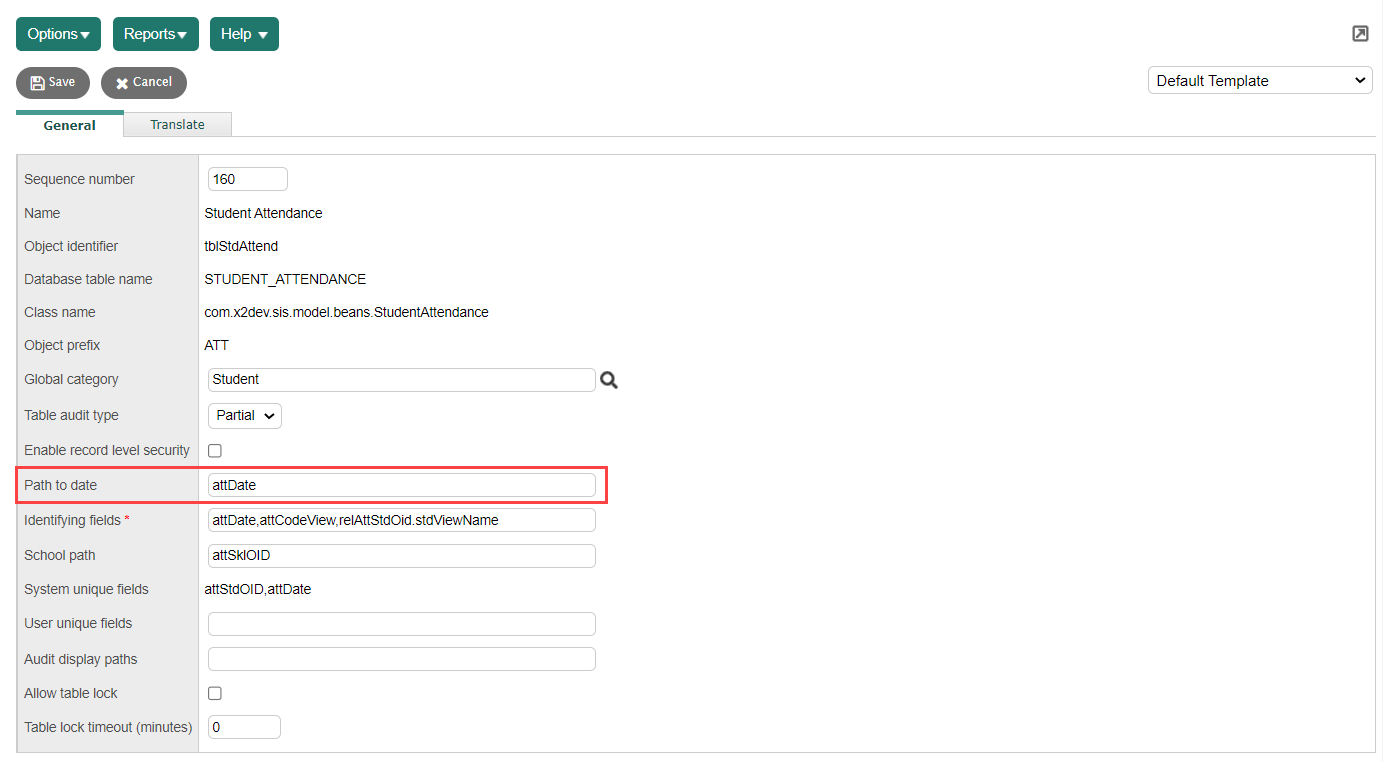
*Then they identify the field on the Student Attendance table that corresponds with the date on student records (District [Root Organization] view, Admin > Data Dictionary > Tables >select Student Attendance>Fields). In this case, the object identifier (OID) attDate corresponds with that date.
*Finally, they enter attDate in the Path to date field on the Student Attendance table's details page:
Aspen compares the date in the student attendance records against the Archive lock date preference. If the student attendance record's date is before (or the same as) the Archive lock date, the record is locked, and only the system administrator (or other user with the Override Archive Lock Date privilege) can edit it. If the date is after the Archive lock date, the record remains editable.
|
To lock system table data based on date:
- Log on to the District (Root Organization) view.
- Click the District tab tab, Setup side-tab > Preferences.
- Select the General category, Advanced sub-tab.
- Enter an Archive lock date, and then click Save.
- Click the Admin tab, Data Dictionary side-tab.
- Select the system table, and then click Details.
- In the Path to date field, enter the name of the date-related field you want Aspen to compare to the Archive lock date.
- Click Save.
|
Notes:
- Aspen will not lock system table data if the Path to date field is blank.
- Only users who have the Override archive lock date privilege can add, edit, save or delete locked records. These records are read-only to other users.
- If you cannot determine what to enter in the Path to date field, contact Aspen Technical Support.
|