Identify services needed by the special education student
When you define a student’s IEP![]() Individualized Education Program, identify
the services the student might need to achieve his or her goals. For example,
a student might need special transportation to attend school, speech therapy,
or mental health services.
Individualized Education Program, identify
the services the student might need to achieve his or her goals. For example,
a student might need special transportation to attend school, speech therapy,
or mental health services.
|
Note: If a user deletes a goal from a student’s IEP, the system automatically deletes the goal from any services it was aligned with. |
When you identify services, you might also define the following:
- when the service begins
- how often the student receives the service
- how long each session lasts
- the service provider’s ratio to students
- the service provider's qualifications
|
Note: Most users define this information while entering an IEP for a student. Anything you view or enter using these instructions also appears in the actual IEP. |
Aspen uses the values you enter in the frequency, duration, and days cycle fields to calculate accurate FTE values on the 'FTE by Month' and Schedule 11 reports. The system only includes values for B and C services.
To identify services:
- Log on to the Special Education view.
- Click the IEP tab.
- Select the IEP you need to identify supportive services for.
- Click the Services side-tab. Any services already defined for the IEP appear.
- To add a service,
click Add on the Options
menu. The New IEP Service page appears.
Note: If your
- Click the yellow Unlocked icon
 .
. - When the green Locked icon appears
 , you can edit the IEP.
 If the red Locked by another user icon
 appears, someone else has locked the IEP data for editing, and you must wait until they are done before you can make your changes. If you have override privileges, you can override the lock. If you do so, the following warning appears.
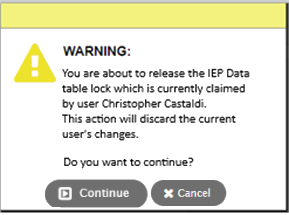
- When your changes are complete, click Save, and then click to release the lock.
If a lock is overriden by someone else, the following prompt appears when you attempt to save.
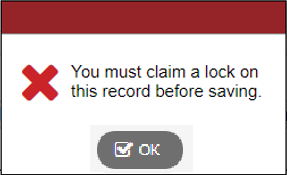
Click the yellow Unlocked icon
to reclaim the lock, re-enter your edits and save your changes; then click to release the lock. - Click the yellow Unlocked icon
- Enter the information in the fields.
- Click Save.