Create and add an assignment on your Planner
You can create and add assignments for your classes directly on your Planner. You can add the following:
There are two ways to add
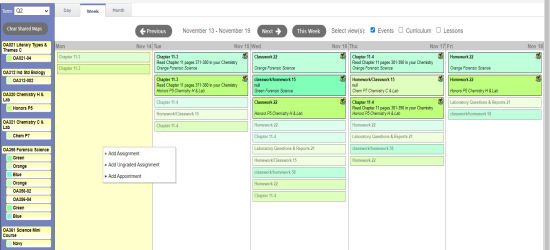
- Click on the date you want to assign the assignment or create the appointment for in your calendar. A menu appears:
-

- Select the type of assignment or appointment you want to create for that date. The corresponding page appears.
- Open My Resources and find a resource to drag and drop to a date on your calendar. The New Assignment page appears.
- Enter the assignment information.
-
You can attach files, links, online quizzes, and Google Docs™ to your assignments by dragging and dropping them from My Resources.
If any of the files are Google Docs, you can make it possible for the student to edit the document. To do so, click Make Student Editable to the right of the document title.

Note: When you make a Google Doc student editable, it creates student-specific versions of that document.
To edit an assignment or appointment, click the assignment or appointment on the calendar.
To delete an assignment, click the assignment or appointment on the calendar. On the Options menu, click Delete Calendar Item.
