District
or School catalog
Complete the following steps to add a course to the
- Create the course in the
- Add the new course to one of the following:
- Current school course catalog
- Build year’s course catalog
|
|
|
Note: If you do not
want to offer a course next year, you can remove it from the |
Create
the course in the
- Log on to the
- Click the Schedule tab.
- Click the Courses side-tab.
- On the Options menu, click Add.The course detail page appears.
- Use the following table to enter information in the fields on the General sub-tab:
-
Field Description School Year
To add the course to the current schedule:
Enter the current school year.To add the course to the build year’s schedule:
Enter the build year. The build year is the year after the current year.To add the course to the school course catalog in the Build view:
Enter the build year. The build year is the year after the current year.Master type
Click this drop-down to select one of the following course types:
- Class: For
this type of course, attendance is taken,
- Activity: This course type is a way to fill a hole in a student's schedule without giving them a study. For example, Student Council or sports.
- Duty: This
course type is similar to Activity, but it is a way
to fill a hole in a teacher's schedule (such as study hall
monitor or bus duty). There is no attendance, roster, or
- Lunch
- Package: This course type offers a way to get your requests in for a student without manually typing a bunch of numbers (for schools not using online course requesting). For example, if all sixth graders in your middle school take the same five core subjects, creating a Master type of Packagewill save a lot of time when entering requests.
- Planning: Use this course type to create sections for teachers for common planning time. Select this course when you create a Teacher Common Planning rule when building the schedule.
- Program
- Recess
- Study: This type of course works directly in conjunction with the study hall loader. For courses with a Master type of Study, it is possible for your school's schedule builder to put students in this class, but it is easier if the Aspen scheduler does it automatically.
Number
Type a course number.
Note: Course numbers must be unique within the
Allow repeat
Select this checkbox to allow students to take this course more than once.
Click this drop-down to select one of the following (optional):
- English
- Fine Arts
- Foreign Language
- Math
- Physical Education
- Science
- Social Studies
These selections are from a reference table. You can add codes to suit your needs.
Only add an equivalent content code to courses in the catalog that are equivalent to each other, but do not both add credits toward a graduation requirement.Example: You add an English 10 equivalent content code to both English 10 and English 10 Summer. A student who is getting credit for English 10 cannot get additional credit toward graduation by also taking English 10 Summer.
Description
Type a course description.
Short description
Type a short course description that can be used in field sets and reports. It is also used on Pages.
Summary
Type a summary of the course.
Department
Click
 to
select the department responsible for this course.
to
select the department responsible for this course.Note: This is important for both teacher assignments and room assignments and can be useful for querying.
Credit
Enter the credit for this course.
Note: This field is very helpful for course requesting when students are required to earn a specific number of credits, and for graduation requirements. The system will calculate the number of credits requested.
Weight
Enter the weight for this course.
Academic level
Click this drop-down to select a value, such as Honors or AP.
Note: These fields come from the Academic Level Codes reference table. Be careful when assigning an academic level that has a state code of 04, Post Secondary. These courses must actually earn college credit, not just be an advanced placement course.
School level
Click this drop-down to select one of the following:
- Adult
- Elementary
- Infant
- Intermediate
- Junior
- Middle
- Preschool
- Primary
- Secondary
Note: A selection is not required, but this information is good for filtering and querying.
Grade level
Enter the grade level for this course.
Include in GPA
 grade point average
Select this checkbox to include the
Note: The following five fields – Credit, Weight, Academic level, Grade level and Include in GPA – all impact GPA.
Hide from attendance
Select this checkbox if you want to prevent staff from taking period attendance for this course.
Honor roll type
Click this drop-down to make a selection. If you have honor roll qualifications defined, which honor roll(s) include this course in its computation.
- Class: For
this type of course, attendance is taken,
- Click Save.
- Click the School sub-tab:
-
- Do one of the following:
- To allow schools to see the course:
- Click the School visibility type drop-down, and select Include.
- Click Add.
- Select the schools to have visibility to this course, and click OK. Only the selected schools can use this course.
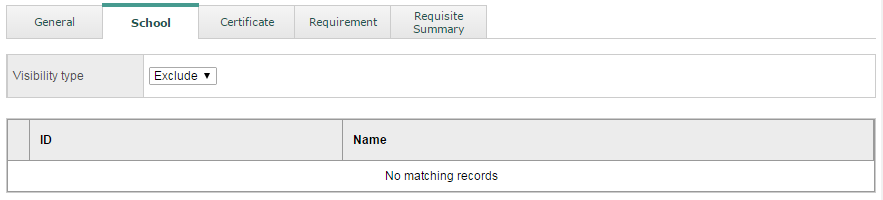
- To prevent schools from seeing the course:
- Click the School visibility type drop-down, and select Exclude.
- Click Add.
- Select the schools that will not have visibility to this course, and click OK. All schools, except for the selected schools, can use the course.
- Click Save.
- Click the Requirement sub-tab:
-

- Click Add. If this course will be a requirement for programs of study, define them here.
- Click Save.
- Click the Requisites side-tab.
- On the Options menu, click Add:
-
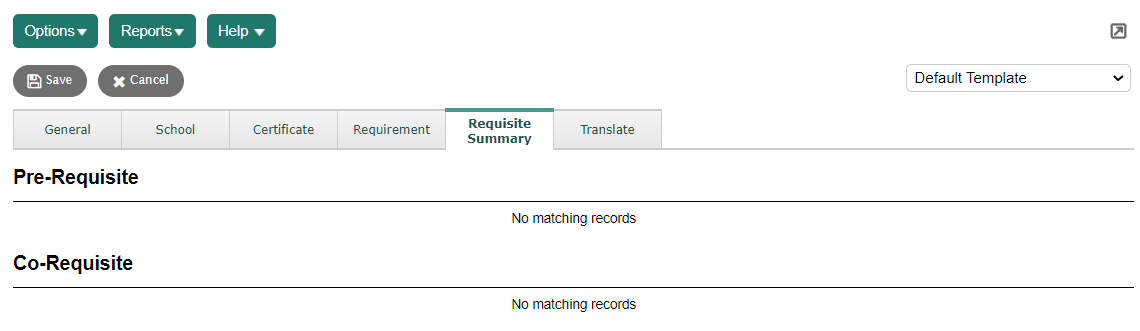
- Define the pre-requisite and/or co-requisite courses for this course, if any.
- Click Save.
Now you have to add the course to the school catalog.
Add the new course to one of the following:
- Current school course catalog
- Build year’s course catalog
|
Note: This also requires you to add the new course to the Build view. |
To add a new course to the current school course catalog:
- Log on to the School view.
- Click the Schedule tab.
- Click the Courses side-tab.
- Click
 to
make sure Current Year is selected.
to
make sure Current Year is selected. - On the Options menu, click Add. The Course pick list appears:
-

- Click the Course Catalog drop-down to select the current school year.
- Click the School Level drop-down to select
the school level that was defined for the course in the
- Select the checkbox for the course you want to add.
- Click OK.
To add a new course to the build year’s course catalog (next year’s schedule):
- Log on to the School view.
- Click the Schedule tab.
- Click the Courses side-tab.
- Click to make sure Build Year is selected.
- On the Options menu, click Add. The Course Pick List appears:
-

- Click the Course Catalog drop-down to select the current school year.
- Click the School
Level drop-down to select the school level defined for the course
in the
- Select the checkbox for the course you want to add.
- Click OK.
-
Note: After you add the course in the school catalog, click
to
make sure Build Year
is selected in order to see the newly added course in the list.
To add a new course to the school course catalog in the Build view:
- Log on to the Build view.
- Click the Courses tab.
- On the Options menu, click Refresh.