Create an Aspen account with an email link
Most
|
Notes:
|
-
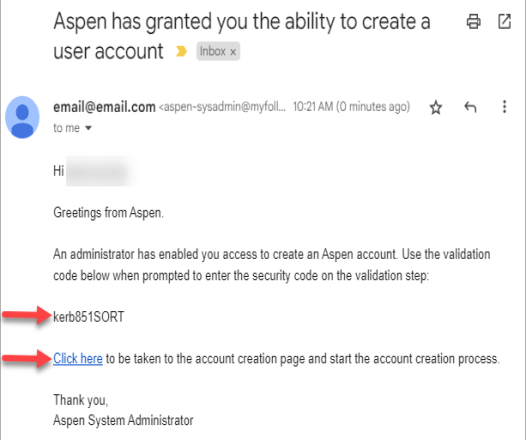
The email looks similar to the one below, with a validation code and a link. Click the link:
-
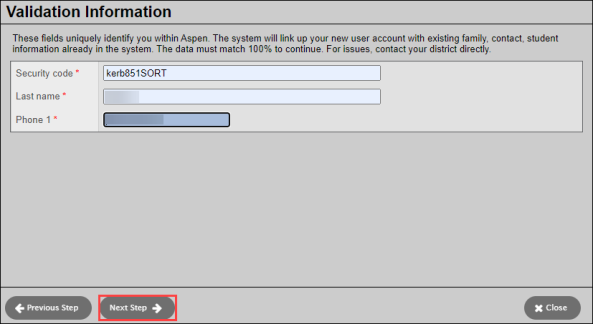
The Validation Information pop-up appears. Enter the validation code from the email, your last name, and phone number. Then click Next Step.
-
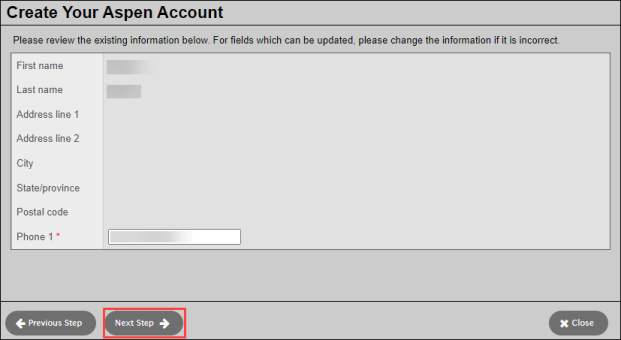
On this page, enter your name and address. Then click Next Step.
-
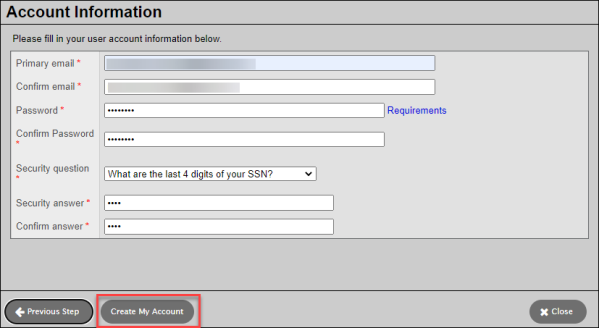
Enter your email address, password, and a security question/answer. (If the email address you enter is already associated with an Aspen user, Aspen will not create an account.) Click Create My Account.
-
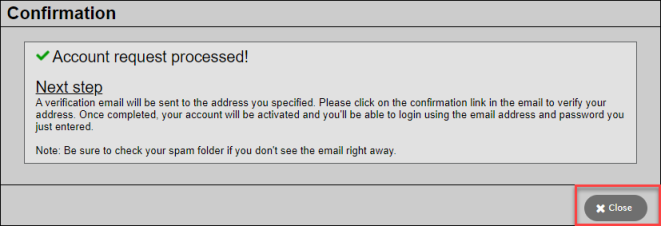
The final page confirms your request is being processed, and you will receive a verification email soon. Click Close.
-
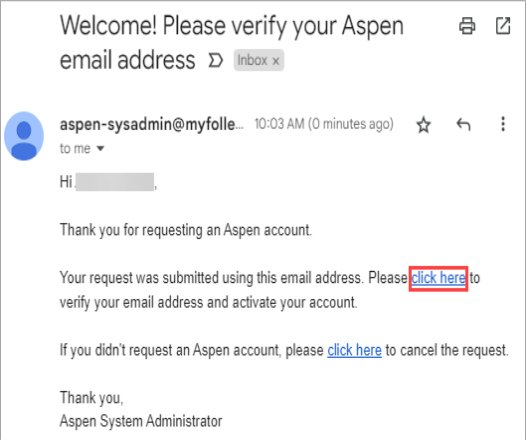
Log into your email account, and find the verification email. Click the link to activate your Aspen account.
-
The Email Validation screen confirms your Aspen account is now active. Click Close.
-
Your district will provide a URL for Aspen in your district. You can log in using your email account and password.
| Note: You can see frequently asked questions (and answers) about using the portals on a desktop/laptop. |