Add actions to a conduct incident from Conduct tab
After the specifics of a
Use the incident record to track these
|
Note: Each |
To enter
- Log on to the School view.
- Do one of the following:
- Click the
 to select a date.
Click the student's name in the appropriate row.
to select a date.
Click the student's name in the appropriate row. - Click the
- At the top of the page, click the Actions sub-tab.
-
- Click Add.
The Student
- Click
 to select the appropriate code for the action. The fields in the pop-up change depending on the code you select.
Note: If you are entering a
-
- Detention Codes
- Suspension Codes
- Other Codes
- If you selected a detention code, the pop-up updates.
-

-
In the calendar, click a rectangle representing the first day of the student's detention. The rectangle turns blue, and the Start date, No. of detentions, and End date fields are automatically populated. Repeat as needed.
Notes:
- To deselect a day, click the rectangle again. It turns white.
- The first day you select is the first day the student's name appears on the detention list. The student will appear on the detention list every day until the detention is served.
- Click OK.
- Type a Description, if desired.
-
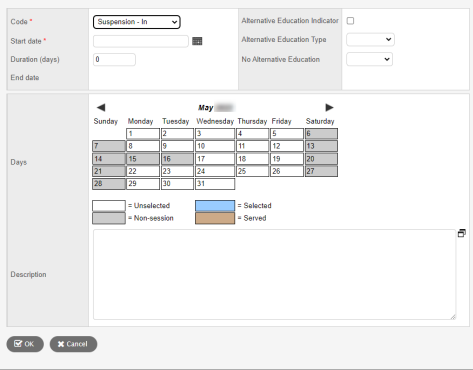
Note: If your - In the calendar, click a rectangle representing the first day of the student's suspension. The rectangle turns blue, and the Start date, Duration (days), and End date fields are automatically populated. Repeat as needed.
-
Note: To deselect a day, click the rectangle again. It turns white. - Type a Description, if desired.
- If this student receives Special Education services, additional fields appear. Indicate whether the student will receive alternate education while serving the suspension, and any other information required.
- Click OK.
-
If you selected a code other than detention or suspension (such as Apology, Loss of Course Credit, or Letter), the pop-up updates as follows.
-
-
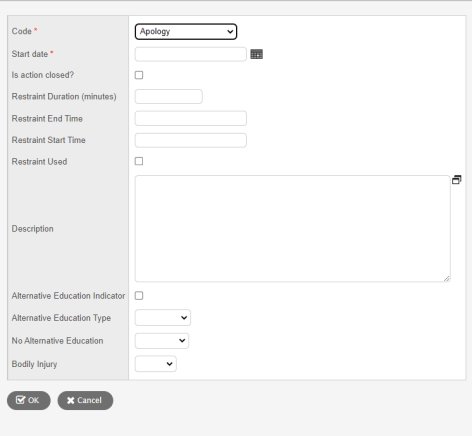
- Type a date, or click
to select a Start date.
- If the action has been completed, select the Is action closed checkbox.
- Type a Description, if desired.
- Click OK.
Note: You can view actions entered for all students in the current year or all years on the
-