Insert an image in a widget
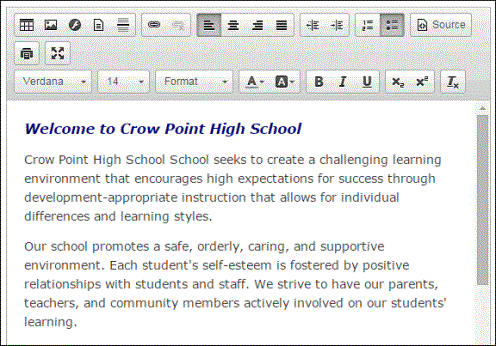
You can insert an image into any widget that uses the rich text editor, such as banners, blogs, and forums. For example, maybe you want to add a photo of your school to the Banner widget.
To insert an image in a widget:
- Go to the Home page or click the Pages tab.
- In the title bar of the widget you want to add an image to, click Edit. The widget expands to include a rich text editor.
-

- Click
 . The Image Properties pop-up appears.
 -

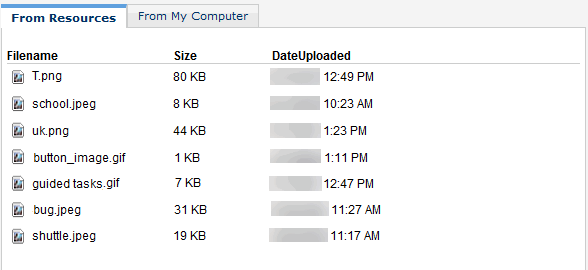
- Click Browse Server. The "Aspen: Browse for Image" pop-up appears.
-

- Do one of the following:
- If the image you want to use has already been uploaded, find and select the image on the From Resources tab.
- If the image you want to use is on your computer, click the From My Computer tab. Then click Browse to find and select the image.
-
The image appears in the Preview pop-up.
- Click OK. The image appears in the widget.
-

Notes:
- Once you upload an image from your computer, it appears on the From Resources tab.
- To resize the image, right-click it and select Image Properties. Change the width and height in the pop-up.
- Click Save to exit the rich text editor.
